
Building Glint
The wall
My photography passion has hit a bit of a wall. I lost all of my photography gear this year due to severe water damage. I had to figure out what to do next. Which camera should I get? Which lens system should I invest in? Which sensor format makes sense?
The gear I had was the sweet spot of what I needed — a lightweight mirrorless with a good zoom range and a fast prime. That was all gone now, and I was a bit lost.
What I still had was my iPhone 15 Pro and my GoPro Hero 5. The GoPro was fun to use at times for casual photography, but of course it wasn't the same. The 15 Pro had great cameras but the images didn't feel like mine with all of the processing, computational photography, Deep Fusion, HDR, and on and on. I just wanted to shoot RAW again, with my settings, choices, and decisions.
I started to look at camera apps that would produce the RAW images I was looking for — Halide, Moment Pro Camera — but each one was doing more than I wanted. I just want to control the light, the exposure, and the focus — the foundations of photography.
I decided to try to build the app I was looking for myself. This past year my AI journey really took off and I found myself enjoying building again. It was mostly because AI handled the build and I could focus on the product and the experience. It was also great that I was building this product experience for myself. I was the customer.
The first night
So one night after the kids went to bed I gave Claude a simple prompt:
Are you able to help me build an iOS app that can use the iphone camera without all of the image pipelines that apple uses to process photos?
Of course the answer is "yes". I stepped away to do some chores around the house, and when I came back to Claude, the initial build of the app was ready to test out on my phone. It was quite simple at first and didn't feel like a camera, but I was able to get the RAW photos I was looking for. I did a few more design iterations that night and thought, "I can build something really cool."
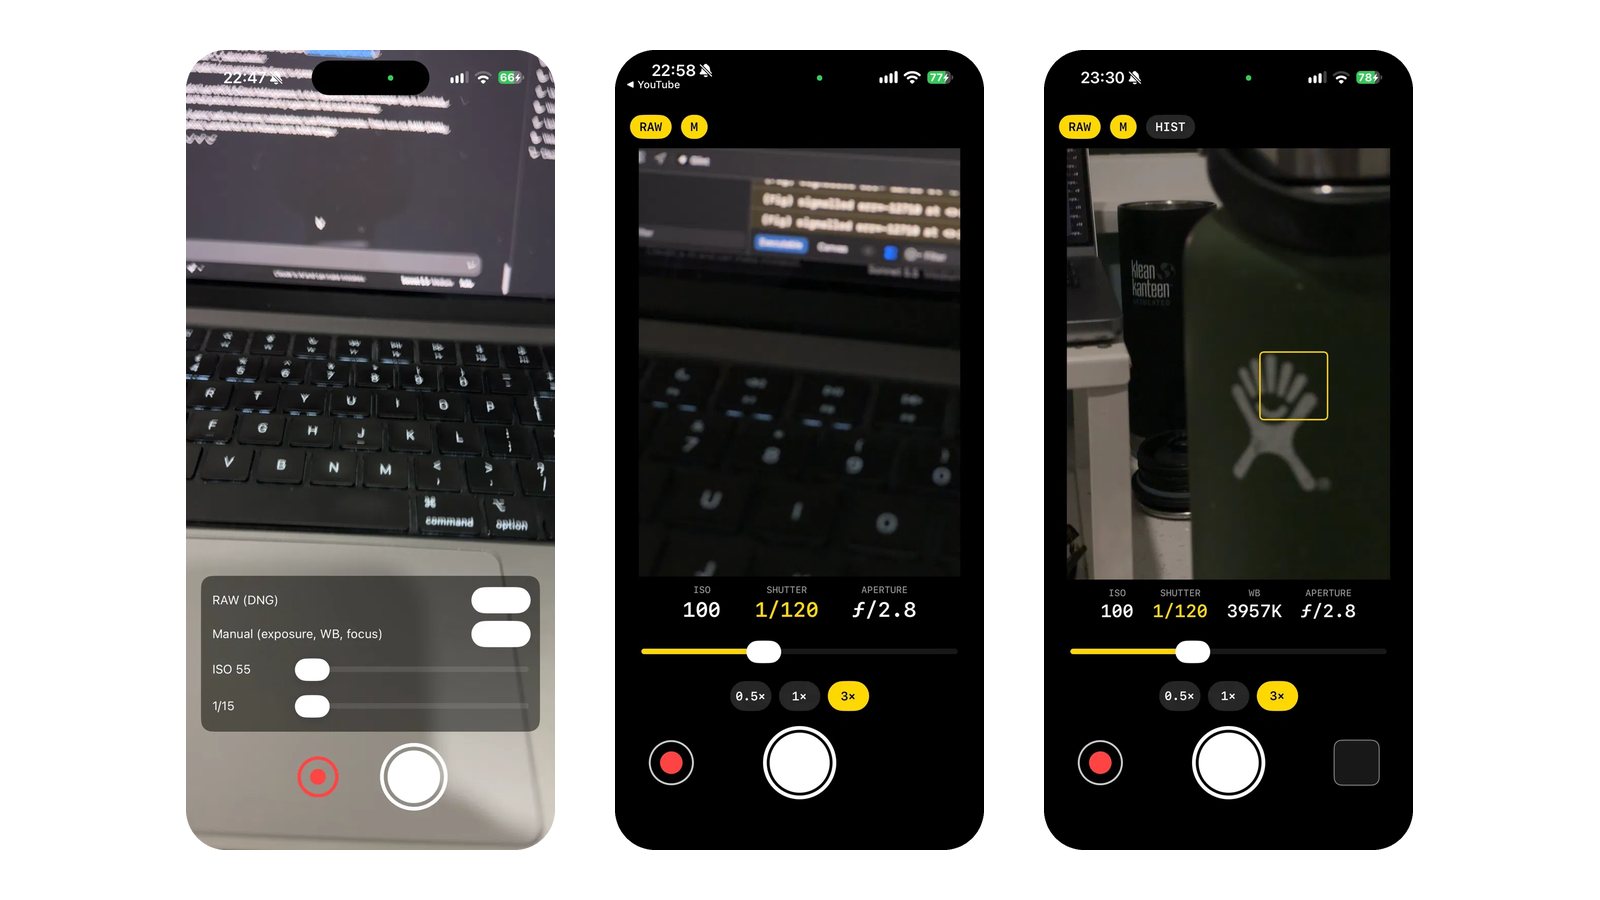
Now I have a camera app that does exactly what I'd hoped, even though I had never built an iOS app before.
This is the story of how that happened. It's also the first of a few posts, because there's too much in it for one.
What it is now
glint /glɪnt/ noun
- a tiny, quick flash of light.
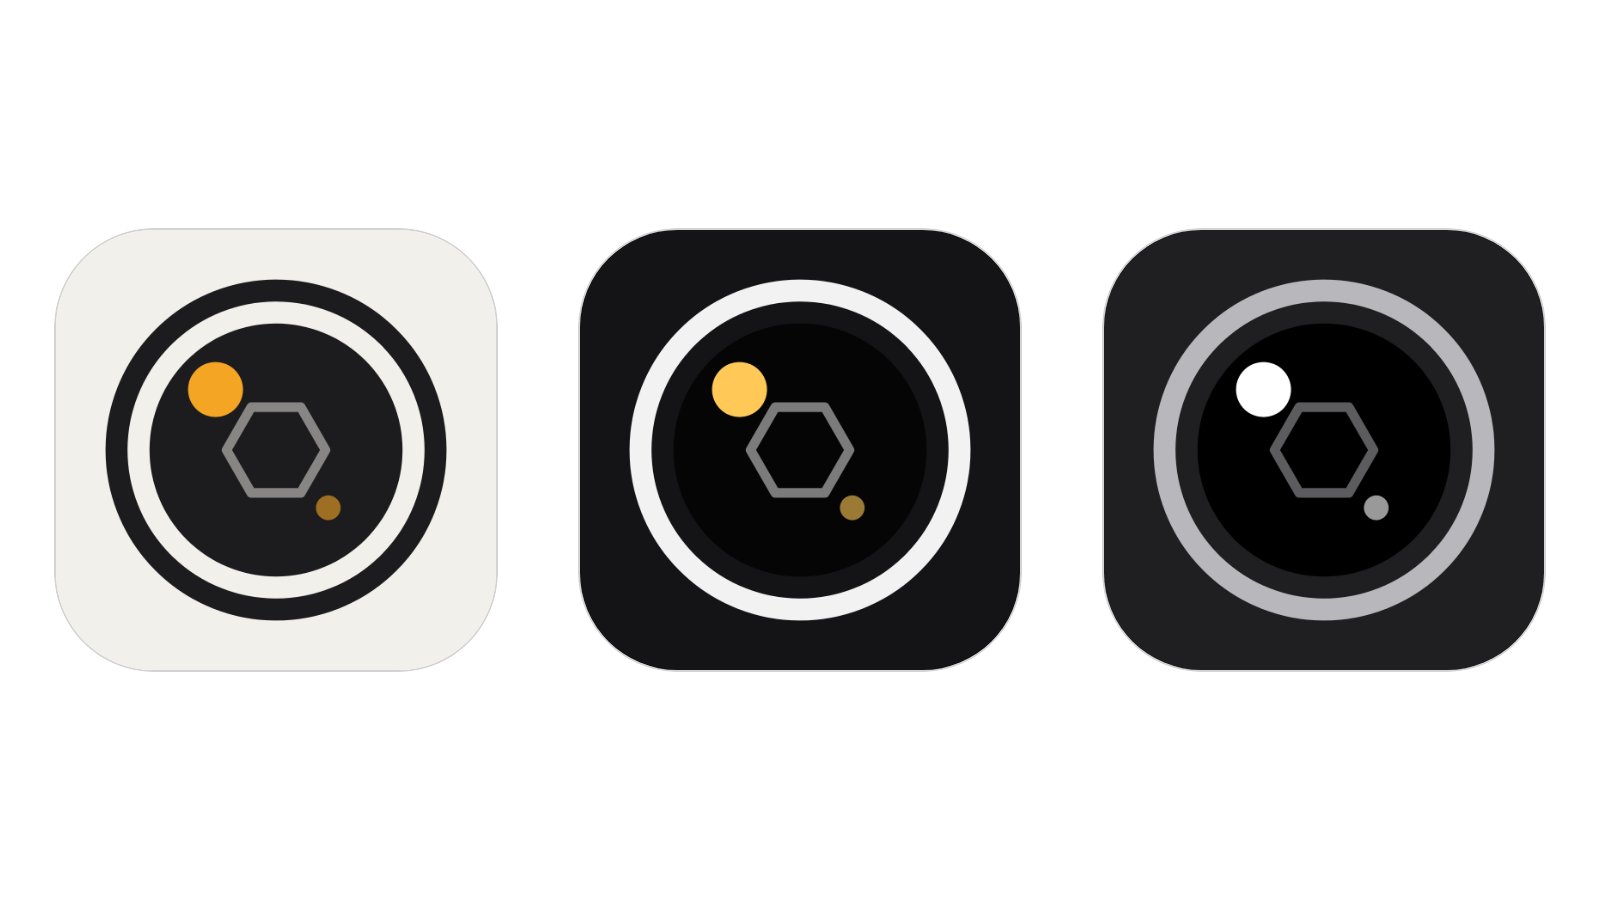
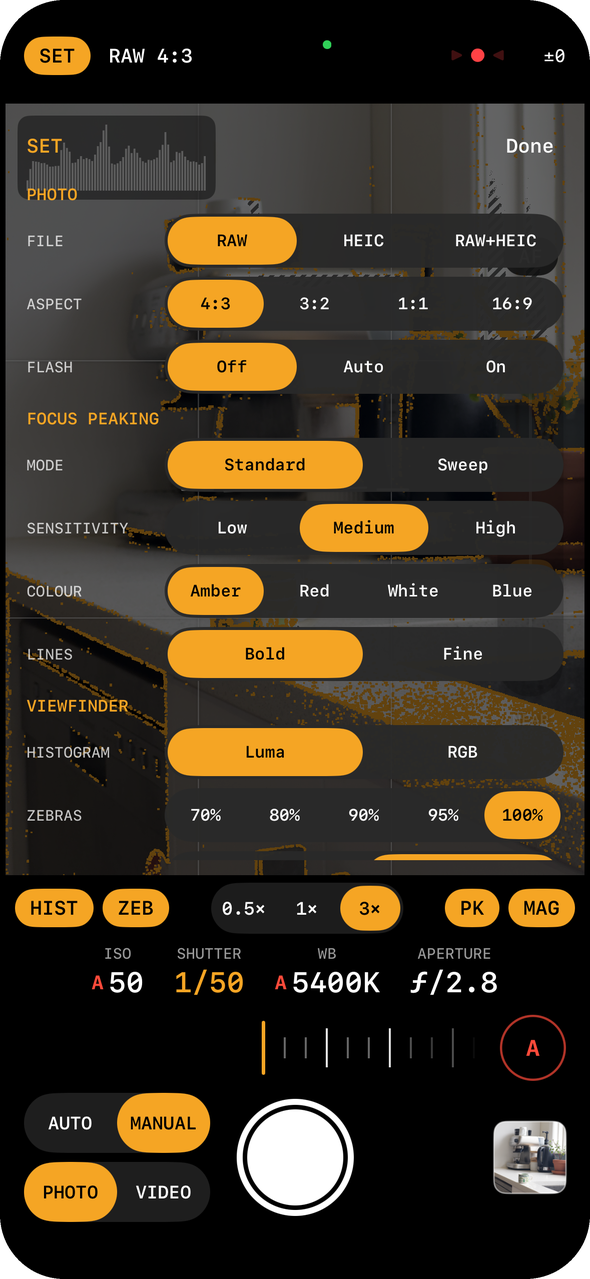
I called it Glint, a small catch of light. It captures RAW, gives me manual ISO, shutter, and white balance on camera-style rulers, and keeps focus separate from exposure, with a focus rail, peaking, and a magnifier. Zebras and a histogram show me exposure honestly. It shoots video too, and a Lock Screen control opens it without unlocking.
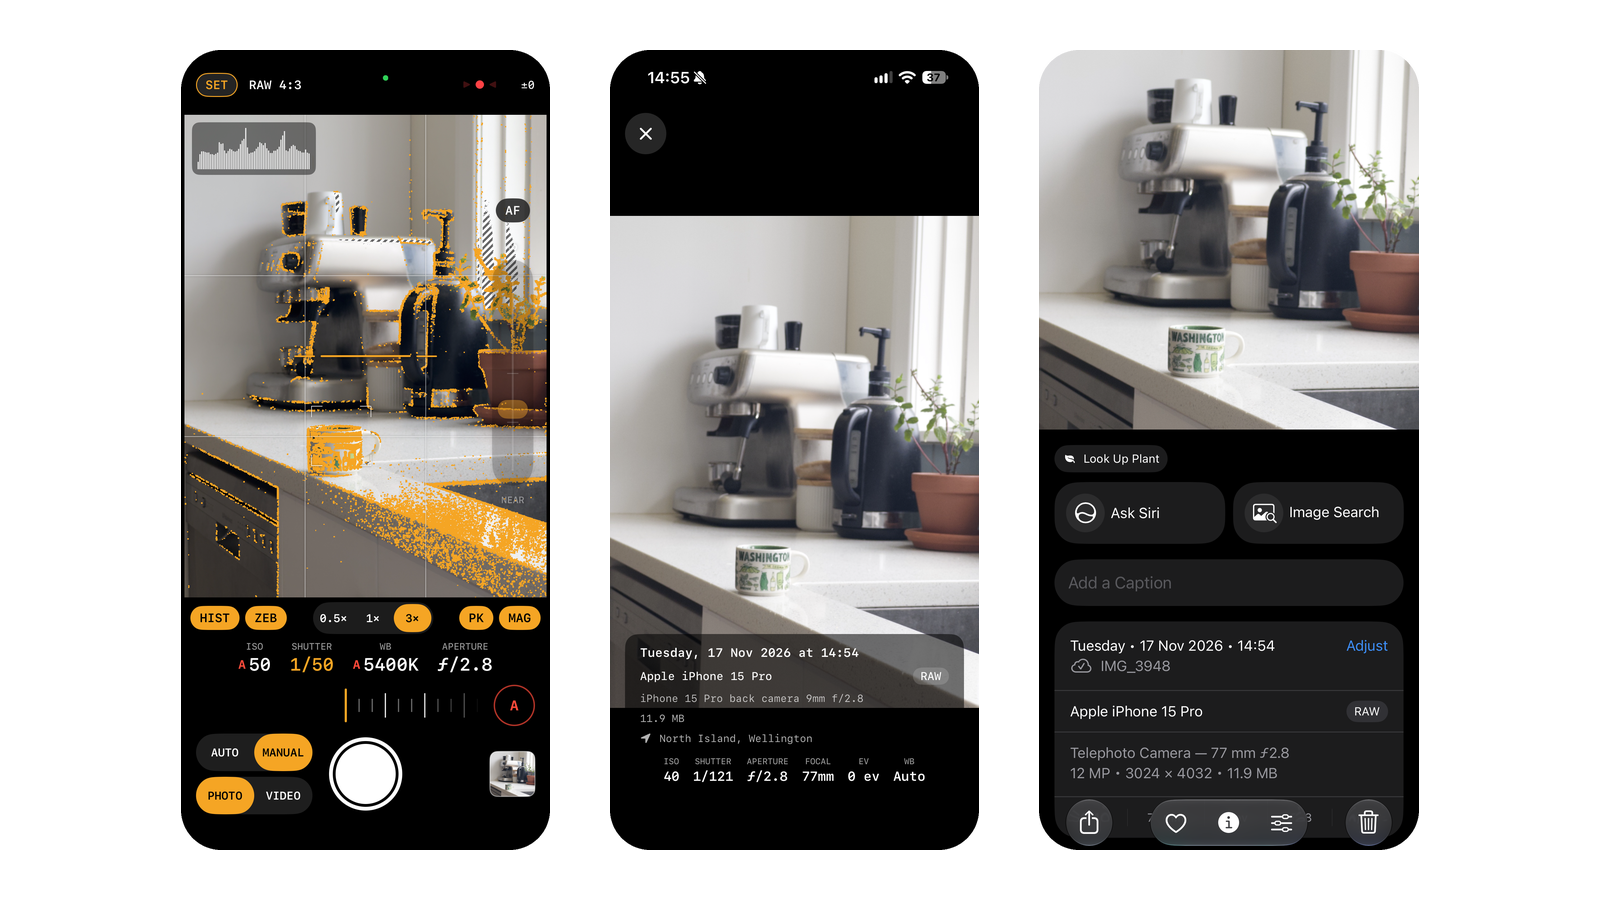
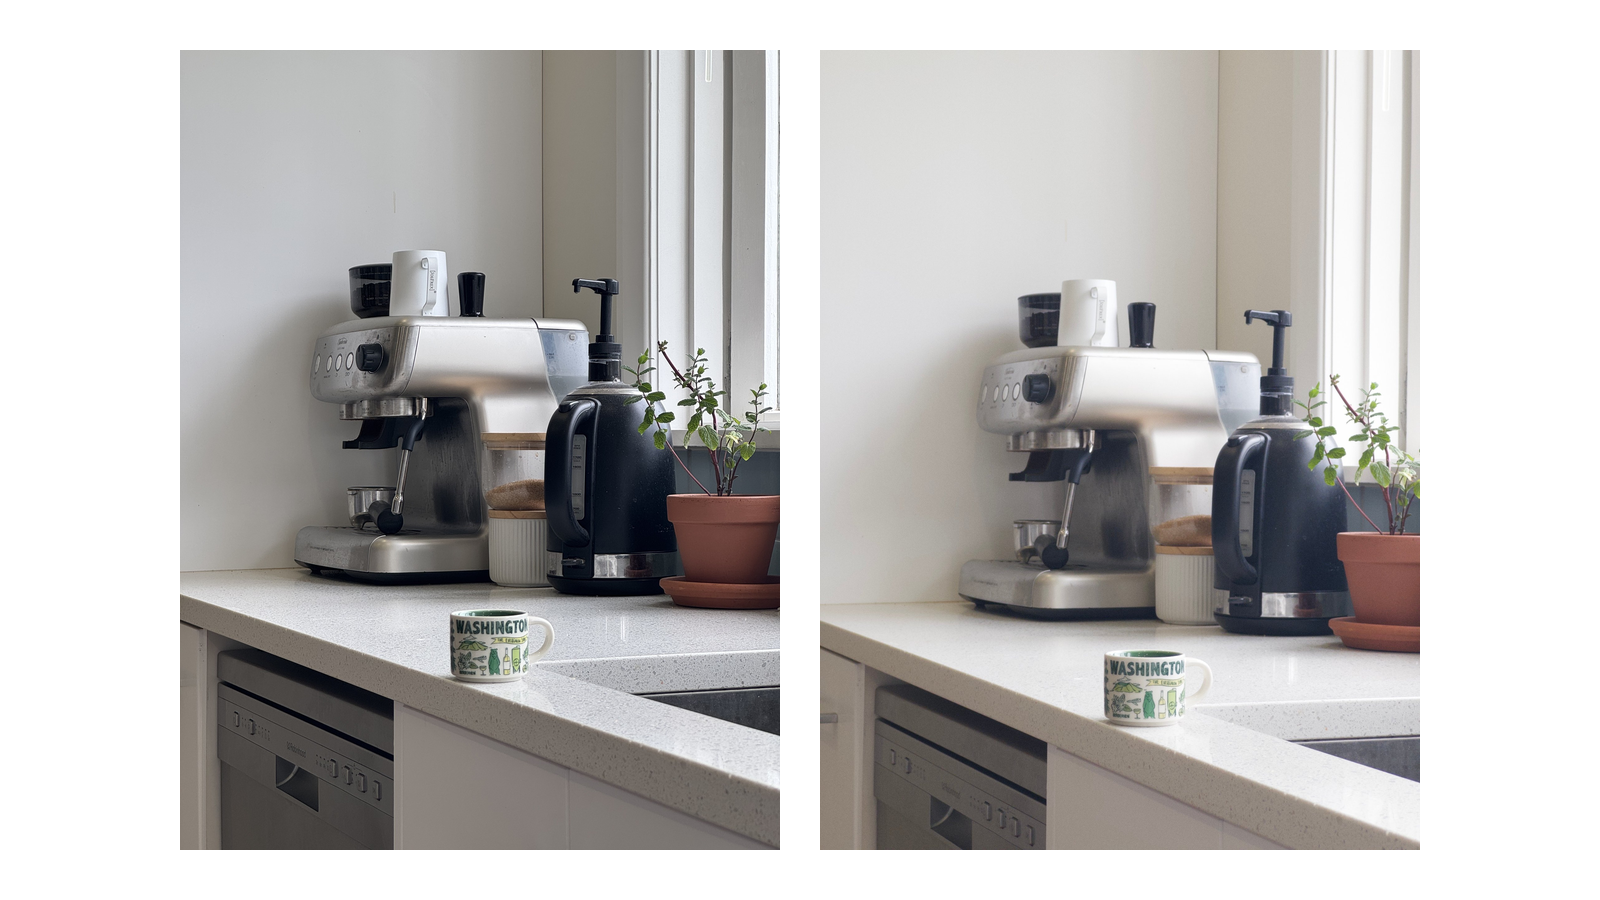
After several evenings once the kids were in bed, I had 20 pull requests merged and 202 tests passing on my iPhone 15 Pro.
Designing it like a camera
I wanted this camera app to feel like a camera. Not a camera trying to be streamlined and minimal, but a real retro camera with all the tactile dials of a Leica M. That's where I found my main design direction.
For the things the Leica M doesn't have, like switching between photo and video, I looked at modern Sony cameras and their tactile dials. And for the viewfinder settings and output formats, I looked at the quick menus that modern cameras include today.
Here's what I took from each:
- From the Leica M: the lens's distance scale, ending in ∞, became my focus rail. And on a Leica, auto is a position on the dial, so in Glint I can put ISO or shutter on A and the camera handles that one.
- From Sony: the mode dial with its photo and movie switch underneath became AUTO | MANUAL stacked over PHOTO | VIDEO, right beside the shutter.
- From the quick menus: I built a menu for the set-once settings and called it SET. Q belongs to Fuji, Canon, and Panasonic, and Fn to Sony, so I didn't want to borrow a brand's label.
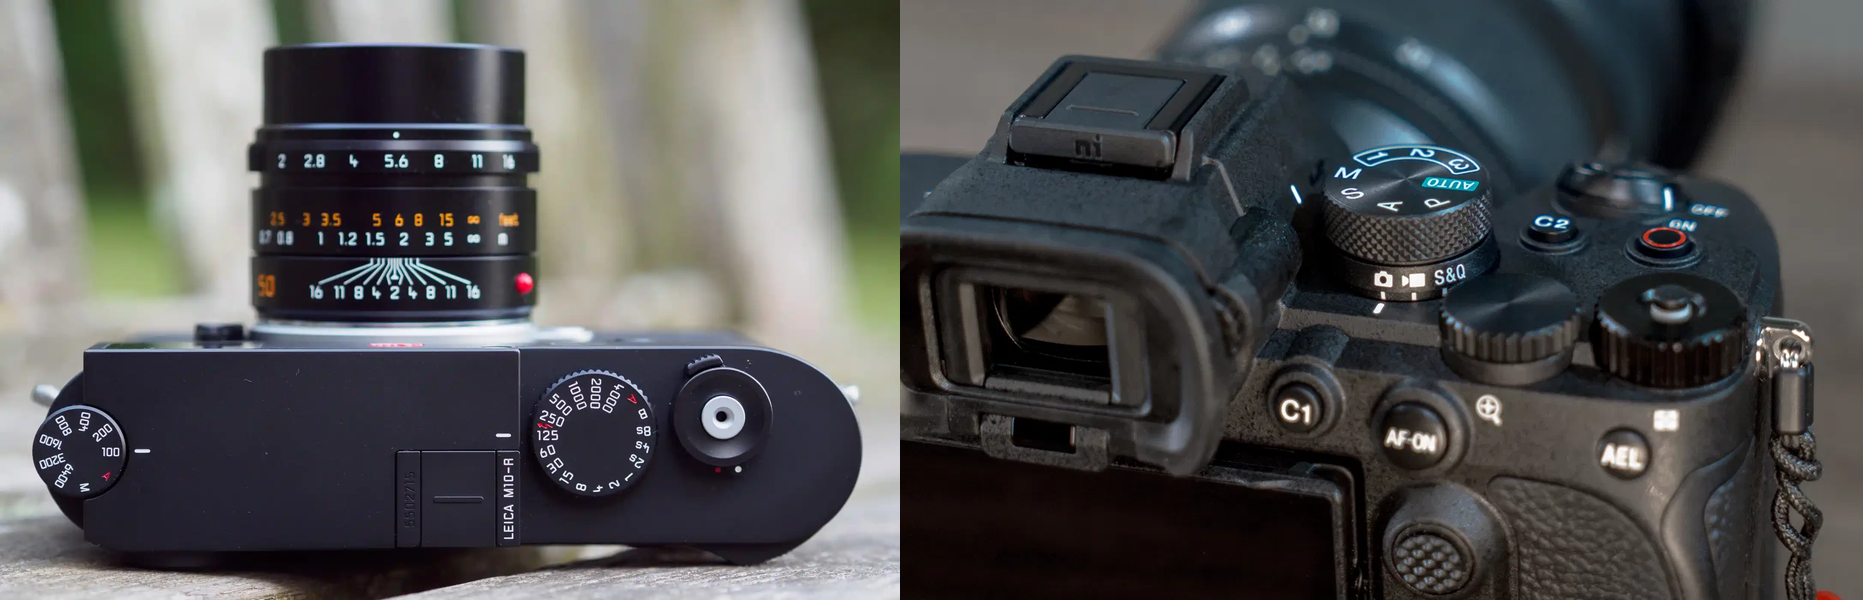
Deep dive coming: how I designed the controls by drawing inspiration from real cameras.
Building it without knowing how
I'm an experienced developer, and I've built plenty of things on the web, but I've never built an iOS app. I don't know Swift, SwiftUI, AVFoundation, or how to configure the app to run on my phone properly. It would have taken weeks or months to build this out. But I didn't have to. I didn't write the code. Claude wrote all of it. I gave the direction: I let Claude know what to focus on, what to change, and how things should function and behave, and I pushed back when it got it wrong.
A few things made it work:
- Expect it to break, and keep going. The first version didn't even build. I pasted the error messages back to Claude and, a few rounds later, it was running on my phone.
- Ask how the experts do it. My first focus peaking feature was invented from scratch and wasn't accurate. Once I asked how camera makers do it, the next version just worked.
- Mock it up first. Trying a few layouts on a canvas settled in minutes what would have taken days in code.
- Test on the real phone. The warnings for blown-out highlights were slow to react, and our first three guesses about why were all wrong. Measuring on the phone showed the real cause, and it was a surprise: the iPhone's idea of pure white isn't the brightest value you'd expect.
- Tidy as you go. Every few features, I had Claude reorganise the code, check it against Apple's own guidance, and write tests, so the app stayed solid as it grew.
Deep dive coming: building an iOS app with AI when you don't know iOS.
Fast, and kind to the battery
"Snappy" and "battery efficient" were goals that I aimed for once more features were added to the app. Whenever I could only choose one, I would lean towards a better UX — "snappy."
Here's what that looked like:
- The camera comes first. When you open Glint, the live view appears first and everything else loads just after.
- Thumbnails show up almost instantly. After you take a photo, its thumbnail appears in about a fifth of a second. It used to take nearly a second.
- Switching lenses is quick, about a third of a second.
- It backs off when the phone gets warm. In steps, Glint switches off focus peaking and the zebra exposure warnings first, then lowers the smoothness of the live picture.
- Nothing runs unless it's needed. The microphone is only on when I'm recording video, and the motion sensors only run while the level is showing.
What's next
Glint started as a camera app for myself, to solve a problem I had with the default iPhone camera app, and I'm having a great time building it. I'll keep refining it, and I want to add film simulations. I loved developing my own film years ago, so this is a way to get some of that nostalgia back. There doesn't seem to be a limit to what I can do here.
I'm also playing with the idea of putting it on the App Store. That means joining the Apple Developer Program, which costs US$99 a year, so I need to think through a business model that covers it. I'll keep you posted on how it goes.
In my next post, I'll go deeper on my design iterations and how I drew inspiration from real cameras to get the controls just right.